Showing posts with label #tosachat #connectedtl. Show all posts

Tuesday, December 26, 2017

The Math Is on the Wall - Installing the Whiteboards

This will be a series of posts to document and share how whiteboard walls have changed my teaching and student learning in my math classroom this year.

This post is about purchase and installation.

Let's Start at the Very Beginning... A Very Good Place to Start...

Back on August 26th I had an exchange with Chelsea McClellan a math teacher in Pollock Pines CA who invited me into her math classroom that has whiteboards on the walls.  I went and visited on September 7th.  The picture below shows her room.  


She painted her cabinets with whiteboard paint and added three 4x8 panel boards from Home Depot that she also painted with whiteboard paint.

I had been researching whiteboard walls for classrooms ever since I attended a CUE event in October 2016 and attended Ed Campos Jr.'s session CLICK HERE to read his blog post.

After visiting Chelsea's classes I made an appointment with my principal and we discussed how I could make this happen in my classroom.  There were a few stipulations that I needed to follow:
  • The whiteboards had to be temporary (meaning they can be easily taken down if I move rooms)
  • No painting of the desks with whiteboard paint - (again too permanent and I get that!)
Pretty simple and easy to follow.  I purchased four 4x8 panel boards from Home Depot (click here).  I had three of the boards cut in half - 4ft. x 4ft. and one of the boards was cut into fourths - 2ft. x 4ft.
My after school STEM club installed the whiteboards:

  • They put duct tape around the edges of the boards
  • Used 16lb Velcro to put on the walls (click here


I'll be adding one more board cut into thirds against my cupboards opposite this picture before we go back after winter break.

Friday, November 10, 2017

Baby Steps and Bread Crumbs for Shifting Math Instruction


I've been thinking about this for a while now. I want to innovate my math classroom...

First, here are my constraints:
  • My curriculum which is Pearson Digits
  • My insane pacing guide which has me and  the teachers at my school and in my district teaching the same thing the same day etc...  We have common summative assessments that everyone gives on the same day.
  • We have weekly intervention for students who are struggling that we use our PLT Monday to pick students to go into based on common formative assessments that we give each week.
  • And finally students who want to sit and get rather than do the difficult work and are resistant to problem solving and mathematical thinking. The students are compliant instead of curious.
  • Also I've been GLAD trained this year so my site Administration expects me to integrate glad strategies in my math class as well.


I look at my constraints and I want to try and flip them and change my perspective of them being something that works against me into something that can support the Innovative learning environment that I want to create.
  • The curriculum is the foundational piece that will allow me to try other things while I'm teaching to the standards.
  • We have common summative assessments, again it's a foundational piece so I don't have to recreate a assessments.
  • The pacing guide also gives me a guideline and a structure to follow.
  • Having the built-in interventions for struggling students is a good thing.


Ways I want to innovate:
  • Jo Boaler’s youcubed
  • Fawn Nguyen's visual patterns
  • Robert Kaplinsky open middle and other math materials
  • Dan Meyer’s 3 ACT Math
  • Lisa Nowakowski's Math Reps
  • Engage New York, Illustrative math, Khan Academy, Math 360, Hyperdocs, Classroom Cribs
  • I also have real-life math activities that I created for my kids a few years ago that I would like to start creating again and here's a link to check them out.
  • Design thinking and design challenges
  • Makerspace
  • AND other great stuff also!


I want to spend the time to have the kids become problem solvers and mathematical thinkers and so time is an issue also because I am on the insane pacing guide and assessment timeline.


Because I'm new to my district this year I can't go Rogue which I normally would do because I could justify that I'm teaching the standards. Interestingly, the teachers that I'm working with want me to find a way to do this stuff and then show them how to do it. They have all this faith in me to change the way math is taught in the district.


I'd love to have a conversations with other math(or any content) people to consider this scenario which I think is very common in a lot of schools and districts to come up with a way to baby step the Innovation into the routine so we don't overwhelm the teachers and make it easily replicable.


I have an interesting perspective going back in the classroom after being an  instructional coach for 4 years.  I really want to find a way to work with the constraints that we all have in the classroom and find ways to truly innovate learning and instruction beyond following a curriculum and using a Chromebook as a digital textbook.

We have to start small and I think that's what I'm asking now that I've shared all this: what are the baby steps and/or the bread crumbs to start this journey and who else would like to join this conversation?

Let me know if you want to join the conversation.

Monday, October 9, 2017

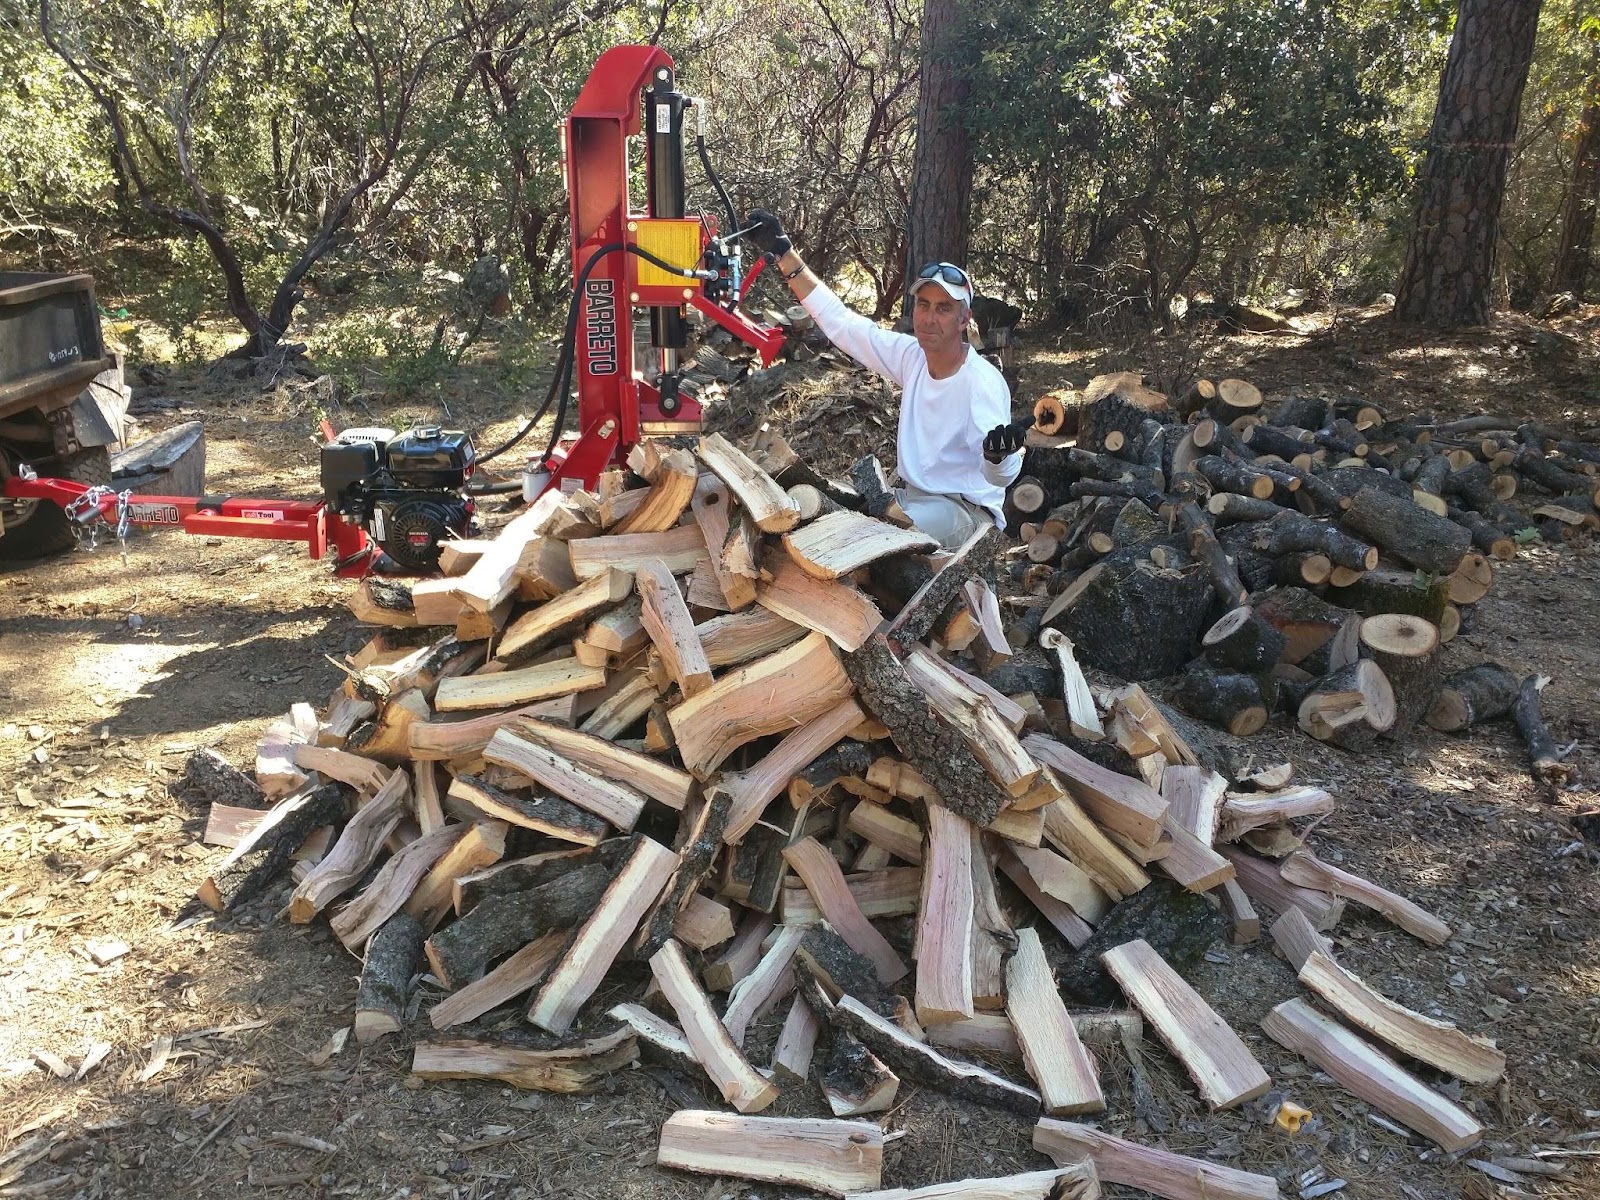
Log Splitting Percents HyperDoc

A few weeks ago I posted my Real Life Math idea based on splitting logs for firewood Read it Here.  I wanted to share the HyperDoc I created for my 7th grade students:

CLICK HERE

It is a "Percents" activity to give the students some Real Life percent connections.  The students work in groups and complete their own copy of the HyperDoc.  I would appreciate any feedback!

IMG_20170924_113725.jpg

Saturday, August 26, 2017

Ratios, Proportions, Chocolate Milk, and Hummingbird Feeders

Photo Courtesy of Krissy Venosdale
I am kind of an unconventional math teacher... I want my students to find other ways to solve problems that do not involve blindly following rules that I give them, oh I don't give them rules.  I spend an abundance of time asking them to problem solve and use critical thinking to solve problems.  They also have to show proof of understanding and share their processes, thinking, etc...

Over four years ago when I was in the classroom as a middle school math teacher one of my favorite activities was Dan Meyer's Nana's Chocolate Milk - 3 - Act Math  activity (love these problems and there is a plethora of them).  I love this activity because it it gives students an opportunity to solve ratio problems using proportional reasoning and problem solving without following a rule.  They can find "their" way to solve the problem using what they know.  It provides opportunities for math talks that create a community of mathematicians and "lead learners" rather than blind rule followers (obviously I have issues with step by step).  And on some days students have to embrace their "Ishness" - Here is a past post on that - CLICK HERE

Now back to Nana's Chocolate Milk and what it has to do with Hummingbird Feeders...

Ironically, I had a recipe mess up moment when I was making the potion we put into our hummingbird feeders.  I mistakenly used the 1/3 cup instead of the 1/4 cup.  So, of course I turned it into a proportional reasoning problem for my 7th and 8th grade students as a warm up problem for the day after we did the Nana's Chocolate Milk problem.  It was a bit more challenging, but the students
worked in groups and made meaning of the problem in ways that made sense to them instead of blindly following a rule I gave them.

I'm looking forward to later in the year when the students will start creating their own 3-Act math activities to share with their classmates and the world!

Here is the link to the slide deck I used to introduce the problem to my students: CLICK HERE.  Please Steal, Copy, etc... and use it with your students and/or create your own.

Tuesday, April 25, 2017

Covered Wagon Maker/Design Challenge

Last week one of the STEAM teachers I work with weekly texted me and asked if I could find a Covered Wagon maker activity.  The great part of being an instructional coach is that the teachers call on me to do the leg work and research they do not have the time to do.  It is my goal to start by doing the research and activity creation to model for them.  As we are shifting pedagogy the teachers are overwhelmed and it is my job to take the fear out of the shift by creating, coaching, demonstrating, and collaborating with them.  As they build confidence, they will begin to slowly take over and start creating lessons on their own, but IT TAKES TIME.

Day 1:

  • we completed the Padlet (you have to let them play if it is their first time, just like manipulatives)
  • watched the video
  • read the articles 
  • collected information 
Day 2:
  • build the Covered Wagon
  • test how much weight they can hold
Day 3:

  • I'm going to add and application activity
  • I'm going to add a reflection activity


Here is what I created:  I have comments on the side to explain my process etc...
CLICK HERE


Monday, April 17, 2017

Introducing Makey Makeys


This week I will be working in many classrooms introducing Makey Makeys to our elementary students.  When introducing, I like to hand the student groups the Makey Makeys and then have them explore and figure out what to do or not do.  I like to force them to struggle and their teacher and I watch and reply: "I don't know" and "You can figure it out" when they ask questions about what to do.  Like many of my other STEAM activities, I created a simple HyperDoc to guide the students through the process.  I can push the document out on Google Classroom and the students can use it to guide their explorations.  In the following weeks we will be using the Makey Makeys to explore electrical circuits.  I'll share those explorations also.

CLICK HERE to view the Introduction to Makey Makey Activity HyperDoc

Have a great week!

Sunday, November 27, 2016

Changing Teachers' Mindsets one Baby Step at a Time

Last year and this year I have had the privilege of being a STEAM coach.  It was not part of my original job description as a Curriculum Coordinator, but I added it because I missed being with the teachers and students.

Since it is Thanksgiving time, I am truly thankful for the small district I work in and the MANY roles and responsibilities I get to experience.  I have shared many STEAM activities on this blog and on Twitter.  One thing I emphasize with the teachers and students I work with is that they will be out of their comfort zone, like Sylvia Duckworth's sketchnote:

With this sketchnote in mind I have witnessed a growth progression in the STEAM teachers I coach weekly:
(this is only a small part of my overall coaching role)

My Coaching Process:
  • Weekly STEAM time with a 5th grade, a 3rd grade, and a 1st/2nd grade class.
  • Give students a Maker or Coding Challenge: (CLICK HERE to see what we've done so far this year)
  • Create a HyperDoc to accompany our activity: (Included in the link above)
  • Get out of the students' way tell them to figure it out and/or make it work (I'm a Project Runway fan)
  • Have the teacher walk around and support but NO helping or rescuing
  • CLICK HERE for some photos of our work this year
What the Teachers Do:
  • See their students' engagement
  • See their students struggle and persevere
  • See that their students are creative and capable problem solvers and critical thinkers
And eventually they step out of their comfort zone and start creating their own HyperDocs and activities with a risk-taking mindset.

The week before Thanksgiving vacation the 1st/2nd grade STEAM teacher created a HyperSlide on Salmon for her students and had the work on it during our STEAM time so I could support her and the students.  The incredible part of the lesson was when she realized she needed their names and so she told the kiddos that she is learning along side of them and that she needed them to "redo" the form with their names.  It was an awesome example of modeling and risk-taking for a self proclaimed "non-techy" teacher and her students.


Wednesday, November 9, 2016

The Power of a Chromebook - A Brick in the Head Moment

Sketchnote by Sylvia Duckworth

Every once in a while as educators we have what I call the "brick in the head" moments.  Those times when the student literally woke me up in such a startling way that it is like they threw a brick at my head.  After the initial shock and possible disappointment it forces me to take pause, reflect and assess the situation and the job I am doing as an educator.

I have to share a glaring "brick in the head moment" that happened 19 years ago (OUCH)!  I was teaching a multi-age 3rd - 6th grade class that had seven students at each grade level and the students looped up with me for four years.  Needless to say the beginning of the year was tough on the incoming 3rd graders as the rest of us hit the ground running.  I did not realize the extent of their suffering and frustration until one day during reading groups.  As I worked with a group, I noticed Rory packing up her backpack carefully.  Being the scientist that I am, I watched and let the scene unfold.  When she finished, she slung her backpack over her shoulders and headed for the door.  It was at that moment that I headed out after her.  I caught her at the bottom of the portable ramp,

"Rory, where are you going sweetheart?"  I asked her
"Third grade is too HARD!  I Quit!  I'm going back to Mrs. Ruppert's Class."  Rory replied

Brick in the Head...  Thanks to Rory's brave move all of the third graders released a huge a sigh of relief as we slowed down and gave them a chance to catch their breath and join the class.

Now back to October 2016 and the brick that hit me on Friday from a frustrated teacher at one of our elementary schools:

Hello,
Today, my class used chrome books to use compass learning.
Upon students opening each of their c books, the screen was different for different students. 
  1. Signing in all my students with the help of another teacher in the room took a total of 25 minutes!
  2. Multiple students somehow were bumped out of compass and had to sign in again , and some more than once.
  3. Some students did not have to sign in with their google account and were able to just go straight to compass because the purple compass screen came on automatically.
  4. The compass sign in had ODySSEY and should have auburn. Last year that was added to the drop-down and it is not there now.So I had to type it for several students. 
  5. Do I really need to write a grant to get headphones for my class? The kids had a hard time listening to their own computer and that would be ideal. If not, please let me know asap so i can get my grant app in by next week.
  6. This is frustrating and subsequently I want to just go into the computer lab and not use chrome books if this is how it will be.... 
  7. Is it possible to have the books open and my students be able to touch or click on an app or icon to go to the site I want them to?
  8. I had to type in the url for compass on several computers to get to the compass sign in page.
Thank you so much for all your help 
Becky Hawkins

How and Why is this a "brick in the head moment"?  It is something that many of us facilitating a Chromebook roll out experience: the teacher's comfort zone.

Our district has increased the Chromebook ratio to 2:1 at our elementary schools and 1.something:1 at our middle school.  We have worked hard to effectively introduce and support the integration of technology use for instruction.  However, there are the occasional hiccups.  As a STEAM and instructional technology coach, I have to come along side the teachers who are struggling to support them as they exit their comfort zones for the benefit of their students.

As the brick was hitting me in the head, I appreciated the fact that the teacher felt comfortable enough to vent to me and honestly share her frustrations.  We had a nice chat/meeting a few days after she sent the email and we began the process of supporting her Chromebook integration in a way that was meaningful for her and her students.  

Thanks to all of you brick throwers who jolt us out of our comfort zone and cause us question and reflect on how, what and why we do things the way we do.

Tuesday, September 13, 2016

International Dot Day 2016 STEAM Style

Auburn Union is celebrating International Dot Day in STEAM style this week.


Here is the link to the HyperDoc I created - CLICK HERE

I'm using the HyperDoc for my STEAM coaching classes and then sharing it with all of my teachers if they want to tackle it on their own.  

I'm letting the teachers do the first two activities without me.  The kiddos can create and color their dots.  The second activity is based on the collaborative classroom mural where you cut each student's dot in half and put it together with another student's dot to create the mural.

STEAM Activities:  (We will use Chromebooks for these)
  • For the first STEAM Dot activity, I'm having the students explore Google Draw to create their dots electronically.  The teacher and I will provide little guidance as we want them to explore, create and collaborate with each other.
  • The second STEAM Dot activity will be for the students to create a Dot animation using Scratch.  Again this will be an exploration and we will provide information as needed but we really want the students to explore and figure it out.
Happy International Dot Day/Week - ish!


Saturday, May 28, 2016

Sphero Art with a Chromebook

Our Paint Covered Spheros
For our final STEAM Parent Day in Chelsea's class we finally created a Sphero Art Mural:


Here are the instructions to save frustration when using Chromebooks with Spheros:

STEP 1: Enable the Bluetooth and connect it to a specific Sphero and have your students remember which color code they are connected to. (We had 6 spheros connected to 6 Chromebooks in the small space yous see in the videos with no problems or conflicts).

STEP 2: Add the Sphero Blockly Chrome App to your Chromebooks (I am our GAFE Admin so I added it to all of our student and teacher accounts).

STEP 3: Have the kiddos open the app and make sure they have their Sphero chosen:

STEP 4: Have the students practice using the Sphero Blockly App to code their Sphero (if they are not familiar with block coding you made need to do this with them a few times before you let them paint)

STEP 5: Find or build a box that will contain the Spheros and the paint and remind the students that they may need to put constraints on their programs.

Coding Spheros with Chromebooks is not the same as using the Tickle App on an iPad, however, it works nicely and the students get a great experience.  Oh and the paint washes right off!

Our next challenge will be Sphero Golf with the Chromebooks!