November/December STEAM Challenge
Lesson Plan: (CLICK HERE to access these directions
in a HyperDoc)
Lesson Plan: (CLICK HERE to access these directions
in a HyperDoc)
Once again I am stealing the challenge from one of
my favorite bloggers: Sarah from Frugal Fun for
Boys and Girls
my favorite bloggers: Sarah from Frugal Fun for
Boys and Girls
CLICK HERE for the Slides to present
the challenge
This month’s challenge has three materials:
- Plastic Snack Cups (Walmart)-
- crafter sticks (Dollar Tree) - CLICK HERE
- Wooden cubes (Amazon) - CLICK HERE
Children’s Books that are a great spark:
Balancing Act: CLICK HERE
Balance the Birds: CLICK HERE
(It is in Korean but there are subtitles which are great for the
students’ to read!)
students’ to read!)
CHALLENGE: (I’m giving you 3 to choose from)
Challenge #1: Build a structure with one cube as the base.
Yes, just one cube!
I’m providing a picture but don’t show
it to the students unless you have to… let them struggle and
figure it out!
Here is an example from the Frugal Fun for Boys and
Girls Blog:
Yes, just one cube!
I’m providing a picture but don’t show
it to the students unless you have to… let them struggle and
figure it out!
Here is an example from the Frugal Fun for Boys and
Girls Blog:
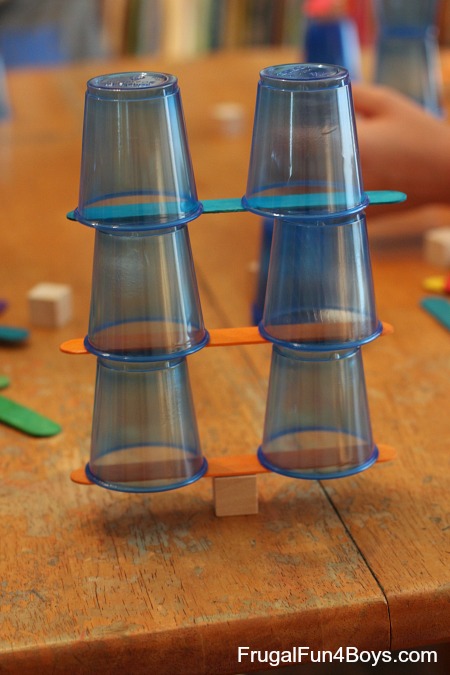
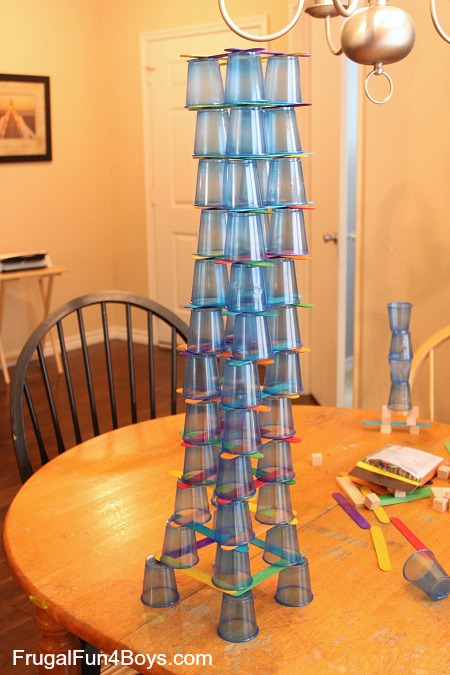
Challenge #2: Using any size base, build the tallest
possible structure.
I’m providing a picture but don’t show it to the students unless
you have to… let them struggle and figure it out!
Here is an example from the Frugal Fun for Boys and Girls
Blog:
possible structure.
I’m providing a picture but don’t show it to the students unless
you have to… let them struggle and figure it out!
Here is an example from the Frugal Fun for Boys and Girls
Blog:
Challenge #3: What can you build with just one cup as the
base?
Here is an example from the Frugal Fun for Boys and Girls
Blog:
base?
Here is an example from the Frugal Fun for Boys and Girls
Blog:
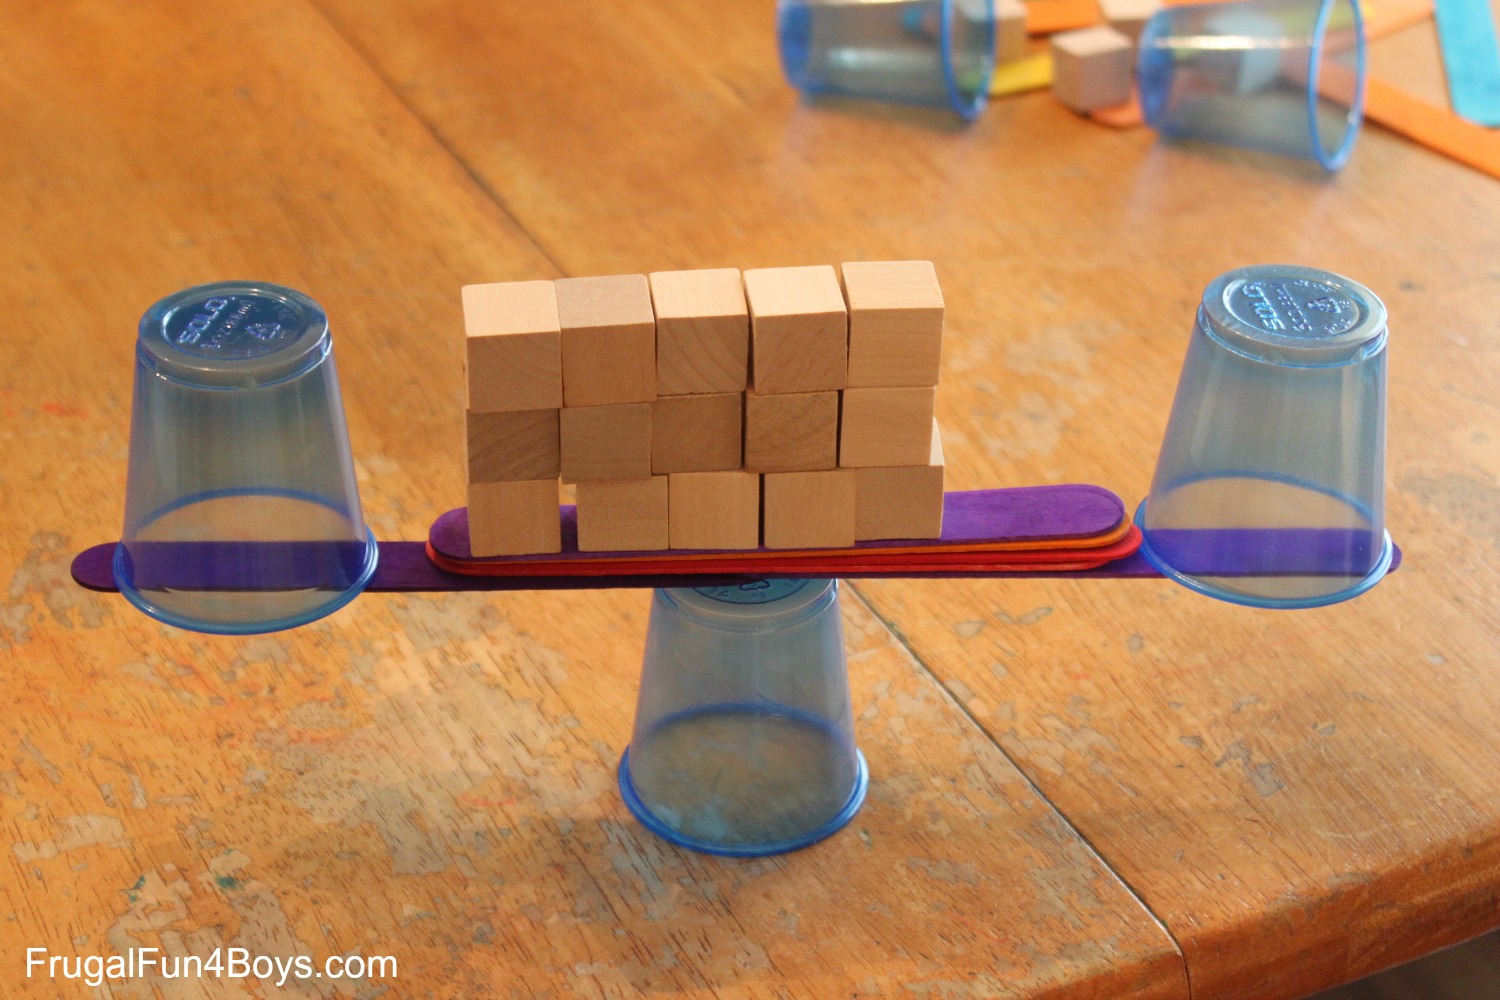
INFORMATION:
Center of Gravity - A basic explanation - CLICK HERE
Balancing Objects - CLICK HERE
APPLICATION: Here is another interesting activity
that would be a good extension for older kiddos or for science
buddies where older kiddos help the younger ones: CLICK HERE
that would be a good extension for older kiddos or for science
buddies where older kiddos help the younger ones: CLICK HERE
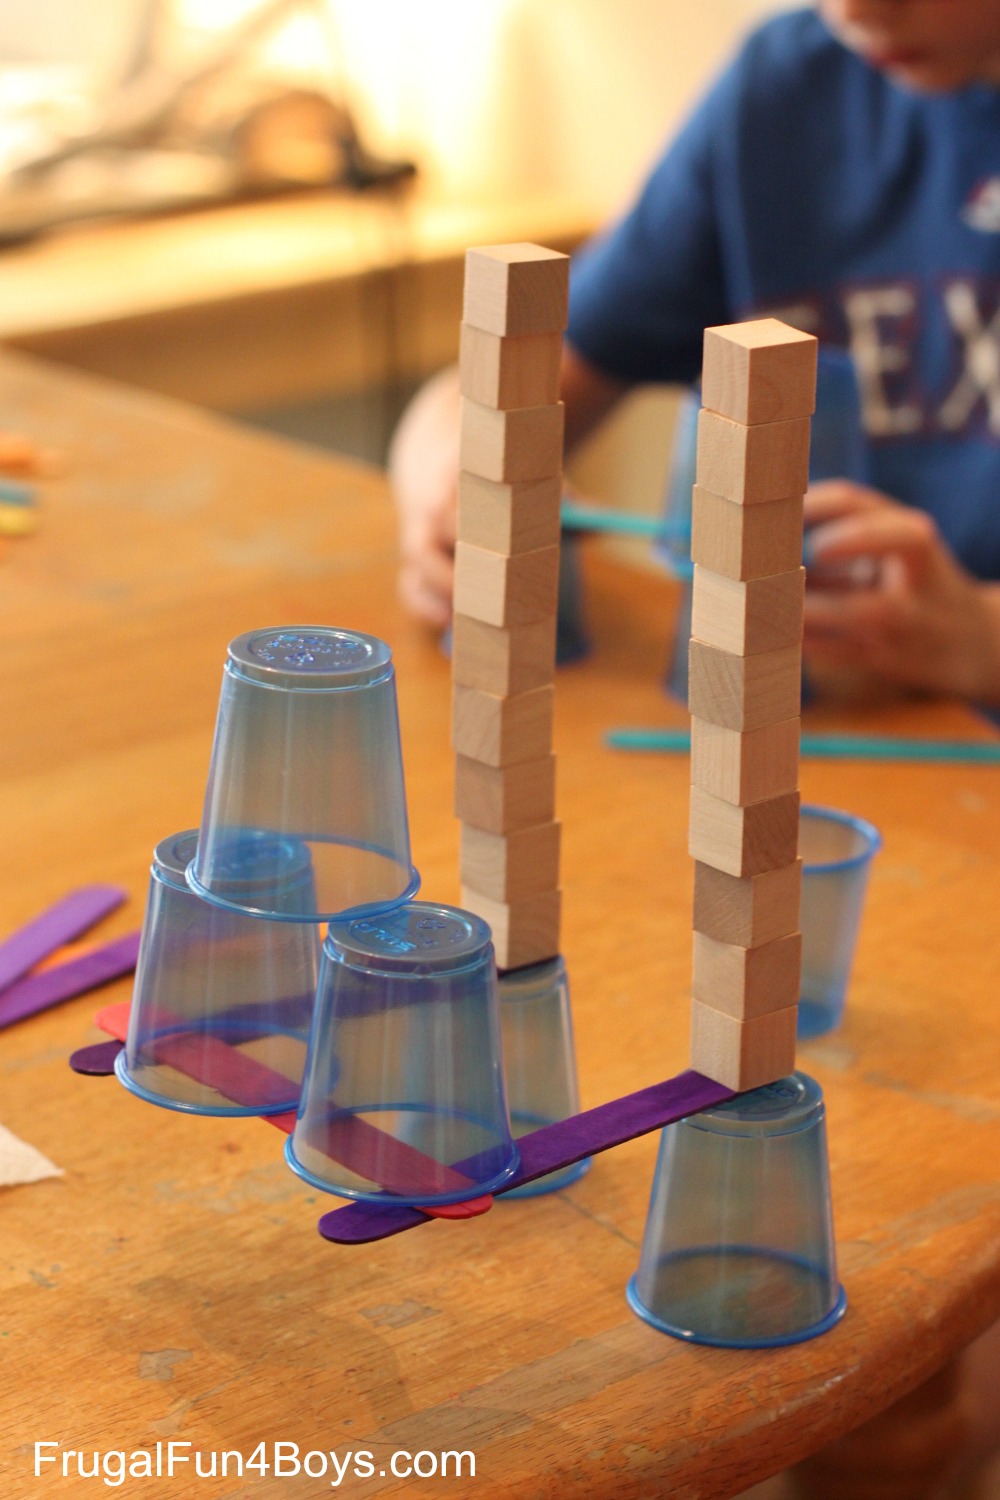
Challenge #4: Feats of Balance. Make something stick
out in an impressive way!
Here is an example from the Frugal Fun for Boys and Girls
Blog:
out in an impressive way!
Here is an example from the Frugal Fun for Boys and Girls
Blog: